Wines for Winter
Lorem ipsum dolor sit amet, consectetur adipiscing elit, sed do eiusmod tempor incididunt ut labore et dolore magna aliqua. Ut enim ad minim veniam, quis nostrud exercitation ullamco laboris nisi ut aliquip ex ea commodo consequat. Duis aute irure dolor in reprehenderit in voluptate velit esse cillum dolore eu fugiat nulla pariatur. Excepteur sint occaecat cupidatat non proident, sunt in culpa qui officia deserunt mollit anim id est laborum.

Lorem

Lorem


Lorem ipsum dolor sit amet, consectetur adipiscing elit, sed do eiusmod tempor incididunt ut labore et dolore magna aliqua. Ut enim ad minim veniam, quis nostrud exercitation ullamco laboris nisi ut aliquip ex ea commodo consequat. Duis aute irure dolor in reprehenderit in voluptate velit esse cillum dolore eu fugiat nulla pariatur. Excepteur sint occaecat cupidatat non proident, sunt in culpa qui officia deserunt mollit anim id est laborum.
Lorem ipsum dolor sit amet, consectetur adipiscing elit, sed do eiusmod tempor incididunt ut labore et dolore magna aliqua. Ut enim ad minim veniam, quis nostrud exercitation ullamco laboris nisi ut aliquip ex ea commodo consequat. Duis aute irure dolor in reprehenderit in voluptate velit esse cillum dolore eu fugiat nulla pariatur. Excepteur sint occaecat cupidatat non proident, sunt in culpa qui officia deserunt mollit anim id est laborum.
Lorem ipsum dolor sit amet, consectetur adipiscing elit, sed do eiusmod tempor incididunt ut labore et dolore magna aliqua. Ut enim ad minim veniam, quis nostrud exercitation ullamco laboris nisi ut aliquip ex ea commodo consequat. Duis aute irure dolor in reprehenderit in voluptate velit esse cillum dolore eu fugiat nulla pariatur. Excepteur sint occaecat cupidatat non proident, sunt in culpa qui officia deserunt mollit anim id est laborum.

Lorem

Lorem

Lorem
RECIPES
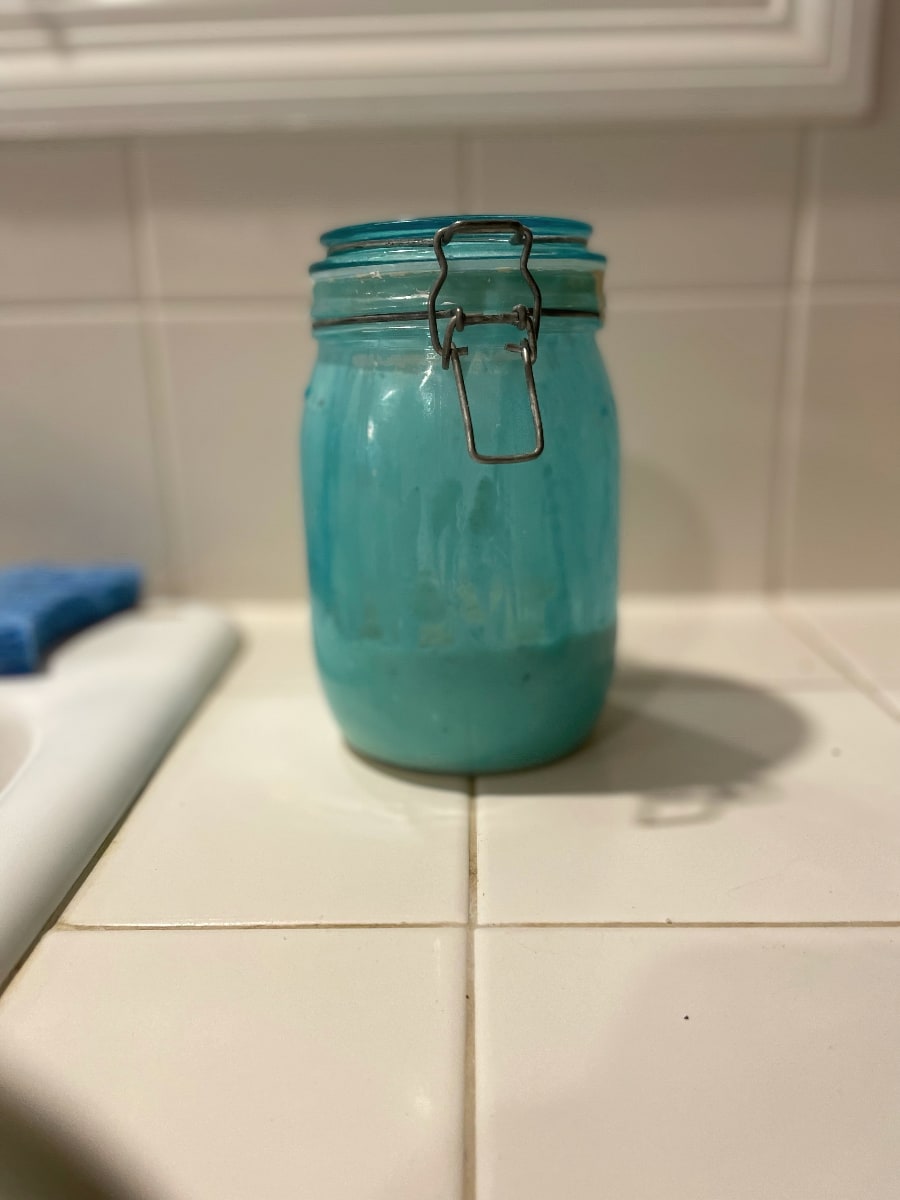
Serious bakers prize their sourdough starters, and our family has been working with a sourdough starter for over 20 years. We make bread, scones, cookies, pizza, pancakes, waffles, we even use it as a roux when we make homemade gravy or other sauces.
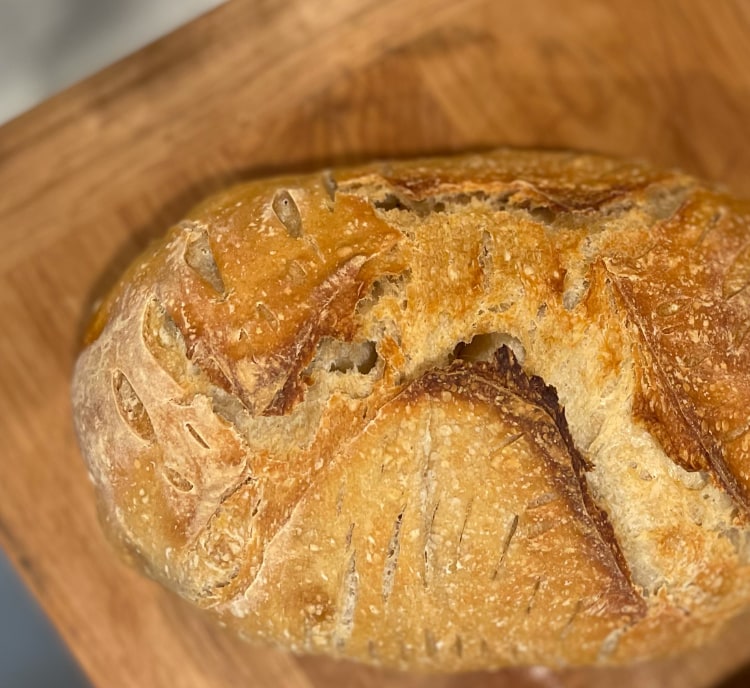
My multi-talented husband Matt Compton makes the bread in our house. Our middle son used to make the bread but now that the family eats 2 loaves a week Matt has taken over the bread making production.
In the future we will share with you our favorite recipes using our sourdough starter.
It’s Good for You!
What we like about sourdough is the long ferment that is better for your health. Did you know that in the long slow fermentation that produces sourdough bread, important nutrients such as iron, zinc and magnesium, antioxidants, folic acid and other B vitamins become easier for our bodies to absorb?

What You Need
Sterilized glass container – 1 quart is a good size
Spatula – rubber or plastic
Kitchen scale
Measuring cups
1 cup (4 oz) rye or whole wheat flour
Warm (but not hot) water between 65-80 degrees F – filtered or water without chlorine
Unbleached all-purpose or bread flour for feeding the starter – 12% protein content is best
Instructions
DAY 1 – Make the Starter
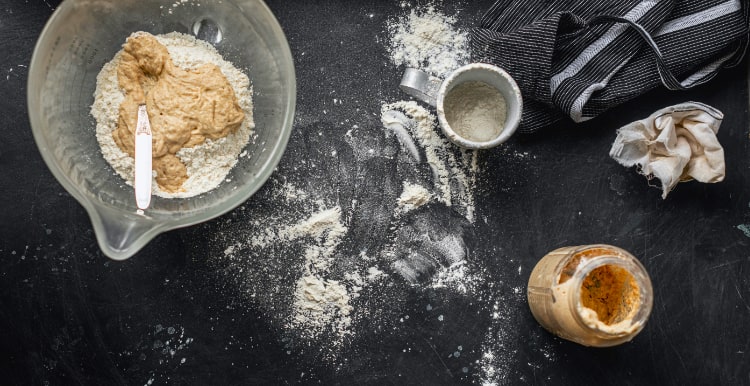
1. Add 1 cup whole-wheat or rye flour to a sterilized 1 quart glass container plus 1/2 cup warm tap water (65-80 degrees F.
2. Stir well until dough is a thick paste
3. Cover loosely with lid or plastic wrap
4. Place somewhere that will maintain 75-80 degrees F for 24 hours
DAY 2 – Feed the Starter
1. Use spatula to measure 2/3 cup of starter and place in stainless or glass bowl. Discard the rest of the starter in the glass container
2. Add 1 cup all purpose bread flour and 1/2 cup warm water (65-80 degrees F)
3. Stir well, return to glass container.
4. Cover loosely with lid or plastic wrap
5. Place somewhere that will maintain 75-80 degrees F for 24 hours
DAYS 3-5 – Two Feedings a Day
Mixture should look bubbly and start to have a tangy scent
Feed starter every 12 hours for 3 days
1. Stir starter
2. Remove 1/2 cup starter from container and put into glass or stainless bowl, discard the rest
3. Add 1 cup all purpose bread flour and 1/2 cup warm water (65-80 degrees F)
4. Stir well, return to glass container.
5. Cover loosely with lid or plastic wrap
6. Place somewhere that will maintain 75-80 degrees F for 12 hours
Repeat process steps 1-5 every 12 hours for 3 days
Starter should get bubbly and have a yeasty scent
DAY 6 – Starter Ready to Use
If starter is almost doubling in size every 12 hours and is bubbly and foamy, it is ready to use. If it doesn’t’t seem ready after 5 days, keep up the every 12 hours feeding schedule.
Maintaining Your Starter
If you use your starter every day, you can keep it at cool room temperature (50-65 degrees F) and feed every 24 hours.
If you use your starter occasionally but at least once a week, slow the starter by keeping it in the refrigerator. Put it in the fridg after feeding when it is active and bubbly. Check it regularly and feed it every other day, letting it activate before returning to the fridge. Watery liquid or an alcohol odor is a sign that your starter needs feeding.
instructions adapted from Food Network’s How to Make Sourdough Starter
Here are some websites that we like. I really like to decorate the bread and this website is inspiring and I really like the social media page. https://www.sourdoughschoolhouse.com/
Come get started with us – we will be sending other full sourdough recipes in the next few weeks. Get your starter going and join us. We use our starter once or twice a week if you don’t have time to use it just feed it each week.


DUCK PROSCIUTTO
Prosciutto is Pork, or in our case, Duck, that is thinly sliced and served uncooked; it is cured with salt in the refrigerator. This style is called prosciutto crudo in Italian (or simply crudo) and is distinguished from cooked meat.
adapted from a recipe from Bon Appetit

.
Ingredients
- 3 x 1 pound duck breasts with skin
- 1/2 cups sea salt
- 2 cups dark brown sugar
- 15 juniper berries, crushed
- 9 bay leaves, chopped or crushed
- 3 teaspoons coarse black Tellicherry pepper
- 3/4 tsp smoked sweet Hungarian paprika
Instructions
- With a sharp utility or filet knife, trim fat from breasts, leaving 1/4 inch layer. Save the fat, we’ll use it later.
- Mix all other ingredients in a bowl.
- Lay a sheet of plastic wrap or parchment paper on counter. Spread 1/3 cup dry ingredients mixture on the paper, matching the size of the duck breast.
- Lay one duck breast on top of the dry ingredients with the fat side down.
- spread another 1/3 cup dry mixture over meat.
- Wrap duck breast tightly in parchment paper or plastic wrap.
- Repeat steps 3-6 for each breast.
- Place duck breasts on a baking sheet or low sided pan, fat side down, for at least 7 days- in the refrigerator.
- After 7 or more days, unwrap the duck breasts, scrape off the dry ingredients. Using a long, sharp Chef’s knife, slice the meat thinly.


